


Required Tools:
|
|
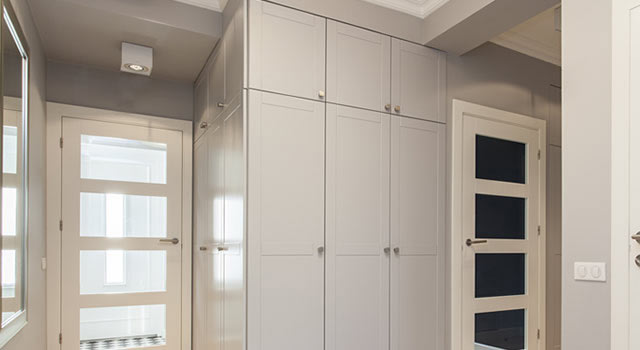
Installing a door is a precise job that takes some skill to accomplish. Shimming a door jamb to level, plumb and square is critical to ensure the door does not bind when closed.
Hinges
- The locations of hinges on doors are not standard. If you have door jambs installed with hinge locations already prepared you may have to get a slab door and router the hinge locations to match.
- When measuring for hinges on your door, if the door and jamb have not been machined, a good rule of thumb for hinge placement is 8” down from the top, and 8” up from the bottom of the door. Some circumstances will require additional hinges.
- When measuring for the hinges on the jamb you will need to keep in mind:
the gap at the top and the bottom, floor thickness, and expansion/contraction of the door - A butt hinge marker can come in handy if you are using a chisel to cut your hinges. Alternately a hinge jig for a router can be useful but is not cost effective when replacing only one, or two doors.

Installing a Pre-Hung Door
Installing a Slab Door with a Pre-existing Jamb
Installing a Bifold Door
Installing a Pocket Door
Required Tools:
- Level
- Square
- Measuring Tape
- Pencil
- Nail Gun
- Safety Glasses
- Hammer
- Tool Belt
- Pry Bar
- Utility Knife
- Router
- Chisel and Butt Marker
- AND/OR
- Hinge Jig and Router
Installing a door is a precise job that takes some skill to accomplish. Shimming a door jamb to level, plumb and square is critical to ensure the door does not bind when closed.
Hinges
- The locations of hinges on doors are not standard. If you have door jambs installed with hinge locations already prepared you may have to get a slab door and router the hinge locations to match.
- When measuring for hinges on your door, if the door and jamb have not been machined, a good rule of thumb for hinge placement is 8” down from the top, and 8” up from the bottom of the door. Some circumstances will require additional hinges.
- When measuring for the hinges on the jamb you will need to keep in mind:
the gap at the top and the bottom, floor thickness, and expansion/contraction of the door. - A butt hinge marker can come in handy if you are using a chisel to cut your hinges. Alternately a hinge jig for a router can be useful but is not cost effective when replacing only one, or two doors.
Installing a Pre-Hung Door
Installing a Slab Door with a Pre-existing Jamb
Installing a Bifold Door
Installing a Pocket Door

Customer Service
1-855-561-1114

Copyright 2023 Turkstra Lumber Company Ltd. | Privacy Policy | All Rights Reserved

Customer Service
1-855-561-1114

Copyright 2023 Turkstra Lumber Company Ltd.
Privacy Policy
All Rights Reserved

