
Prepare the Wood
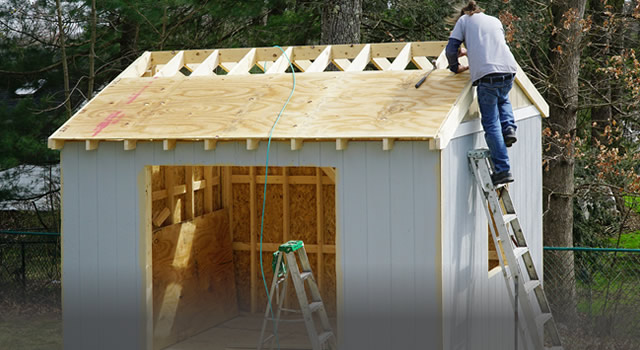
Preparing the surface is the most important step when painting a wooden shed because if you don’t have a surface that is free of dirt, loose paint, or other debris, you are going to end up with flaking and blistering down the road. However, if you made your wooden shed from bare wood, you won’t have to do any scraping or sanding. If applicable, you should make sure to repair or replace any loose or broken boards.
Use a Pressure Washer
Once you have prepped the surface, it’s time for a final clean. Try to work in a set pattern while you spray to avoid missing some spots while cleaning others repeatedly. Remember to get all surfaces that will be painted and not just the obvious ones. Once ready, leave the shed to dry for a day.
Apply a Paint Primer
Once the shed is completely dry, you can apply an exterior primer before starting to paint. The primer seals any holes and prevents any pests from feeding on the wood. Before you apply the primer, remember to mask off anything you don’t want to paint, like hinges or handles.
Paint Your Shed
Once the shed is cleaned and primed, you can start the painting process. We recommended using a paint gun rather than a brush to paint the wooden shed evenly. If necessary, try to apply the paint in thinner coats rather than in one heavy coat to avoid runs, drips, and sags. You should hold the sprayer level at a distance of about 10 or 12 inches from the surface (this depends on the viscosity of the paint and the amount of air pressure used) and move at a steady pace until you spray the entire shed. Furthermore, overlap the spray pattern by at least 30% to achieve even coverage.
Check for Missing Spots
Once you have sprayed all the surfaces of the wooden shed, check for any spots that you missed during spraying. If you find some, carefully spray them and make sure that you maintain the coating evenly. Your wooden shed is entirely painted completely and ready to use. Your choice of color is obviously up to you, but if you wish to have your wooden shed camouflaged among your garden trees and foliage, choose any green-toned paint rather than a bright, conspicuous color. Or, for something that stands out but isn’t too loud, choose a friendly neutral tone like tan or beige.

Customer Service
1-855-561-1114

Copyright 2023 Turkstra Lumber Company Ltd. | Privacy Policy | All Rights Reserved


